Remember that fun challenge I mentioned in the last update? Well… it’s been an adventure that’s for sure!
I’ve been working on the A Deck corridor, which (as discussed already) is going to be an architectural centrepiece. I’ve been spending a lot of time on it over the past 3 days, because when people see it for the first time I really want it to be a “wow!” moment. I want them to think “Yes, this is going to be something special”.
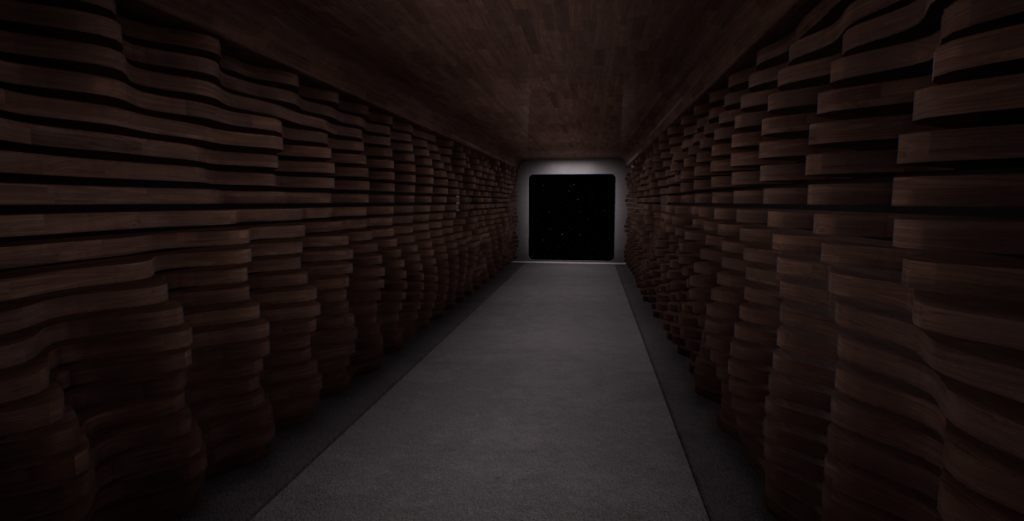
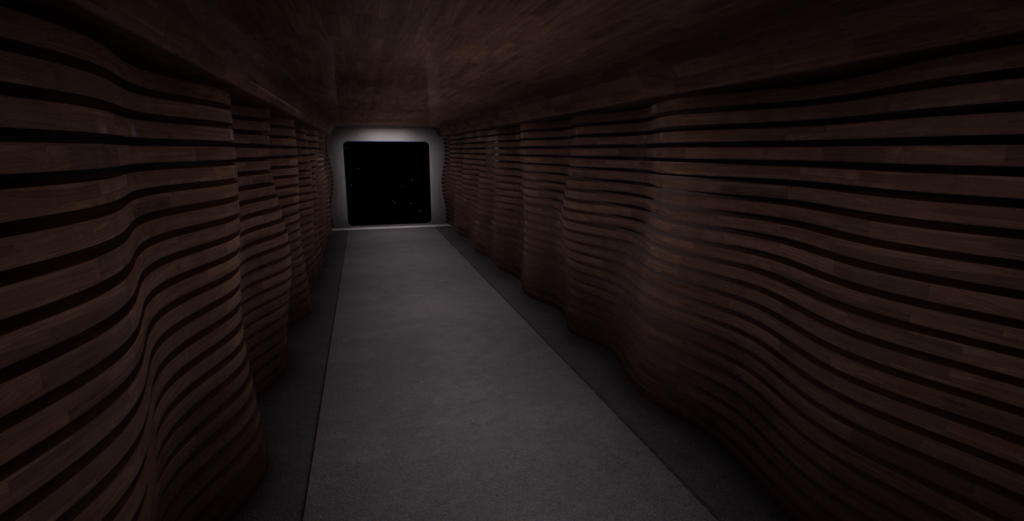
To that end I’ve laboured greatly over the planned design. I’ve known from the beginning that I wanted to explore a wooden parametric sculpture of sorts, but I was stuck on generic geometric shapes and I just wasn’t feeling it. Here’s a couple of examples of failed attempts:
Ultimately though an idea was burrowing into my head, which was to turn this corridor into a celebration of Earth, using Earth’s landmass itself as the sculpture. This is mankind’s first ever deep space exploration mission, and the main objective of the ship is to make first contact with alien cultures. With the diplomatic conference room being on this very same corridor, surrounding it with the essence of our home feels like the right way to go. It hits me in the feels, and it’s a great talking point for any visiting guests.
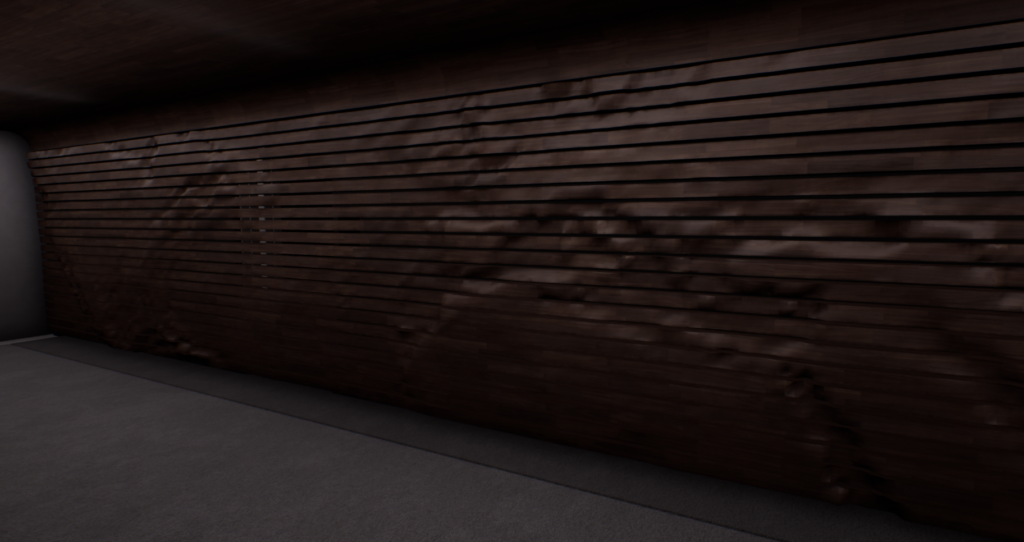
The first attempt at achieving this wasn’t particularly good, as you can see from this example:
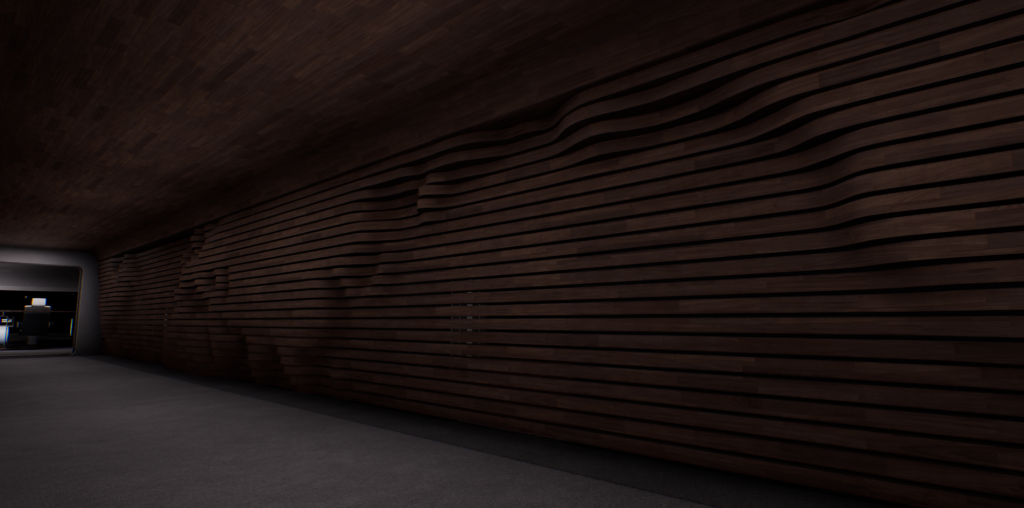
The method I used to convert a heightmap to a 3D mesh was producing pretty ugly results, and it just felt messy. I then tried making my own heightmap in photoshop to accentuate the landmass a lot more, which was better, but still not what I was looking for:
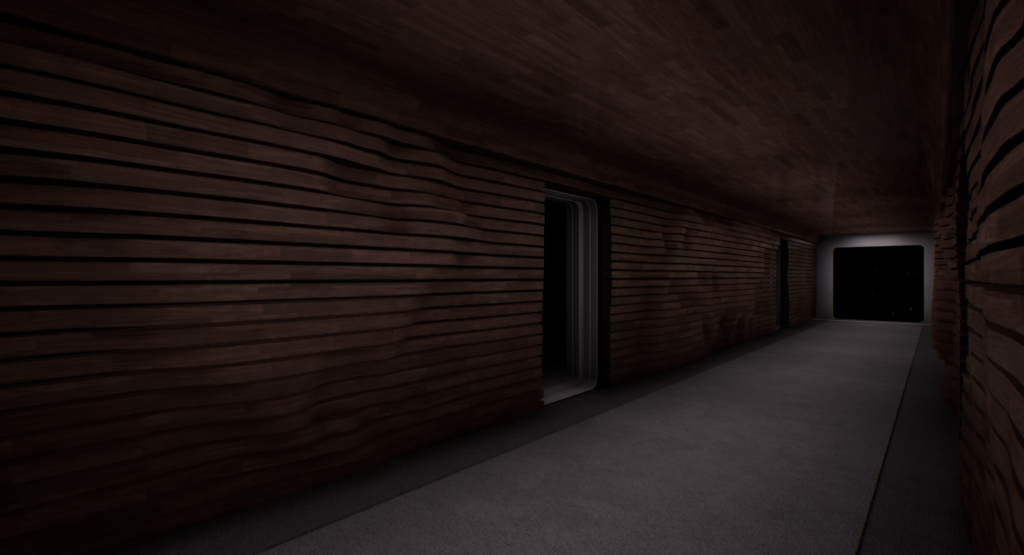
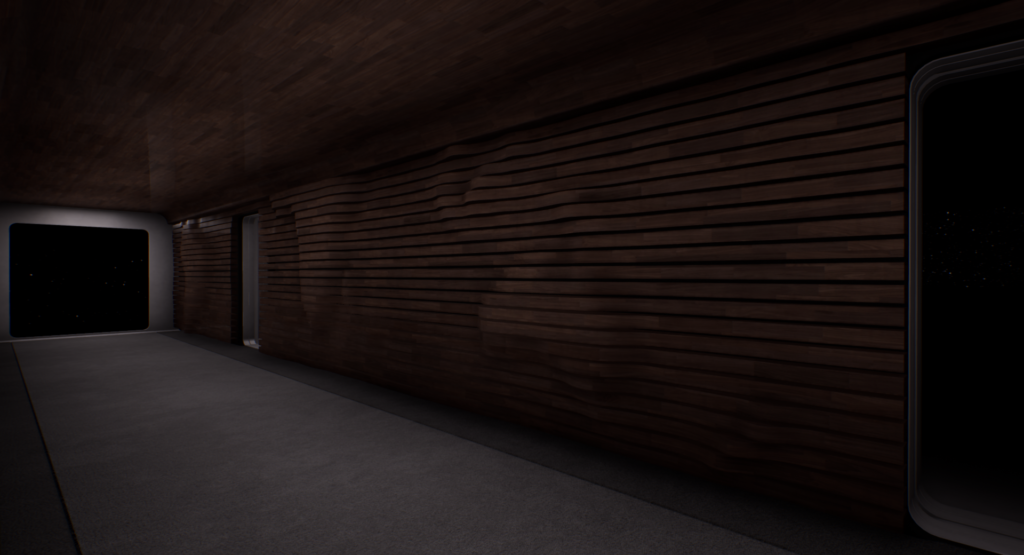
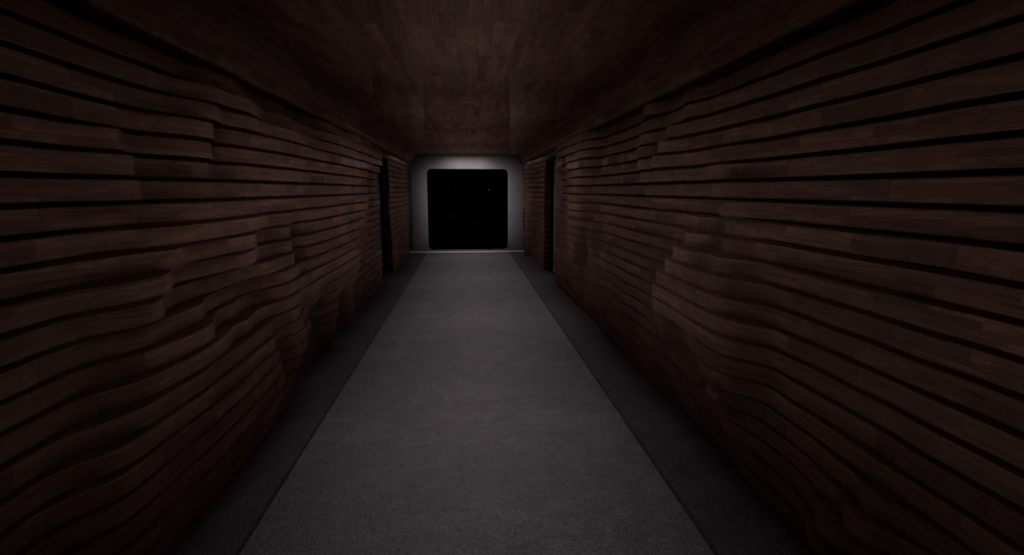
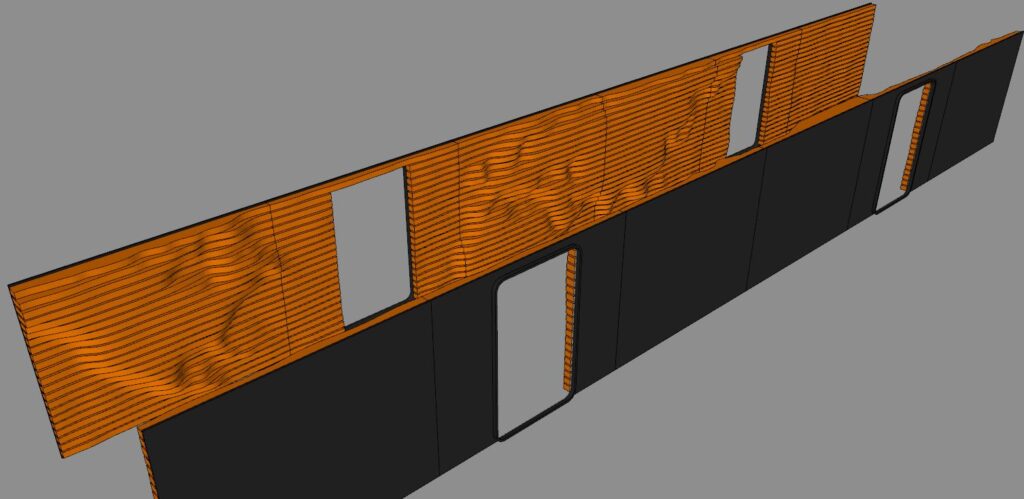
Finally I took my own heightmap and overlayed some clouds to give it all a bit more of an interesting texture. The continents are still accentuated, but both they and their surrounding area now have a lot more geometry going on. The northern hemisphere is on one wall, and the southern is on the opposite:
This is still a long way from finished of course, with the floor and ceiling still needing to be designed properly. I’ve got some ideas there, but I’m still working through the iterative process to see what stands out.
This did seem to take an awful long time for what is essentially quite a simple idea, but let me take you behind the curtain to demonstrate how much work is actually involved in not only constructing such a thing, but also making it properly game ready.
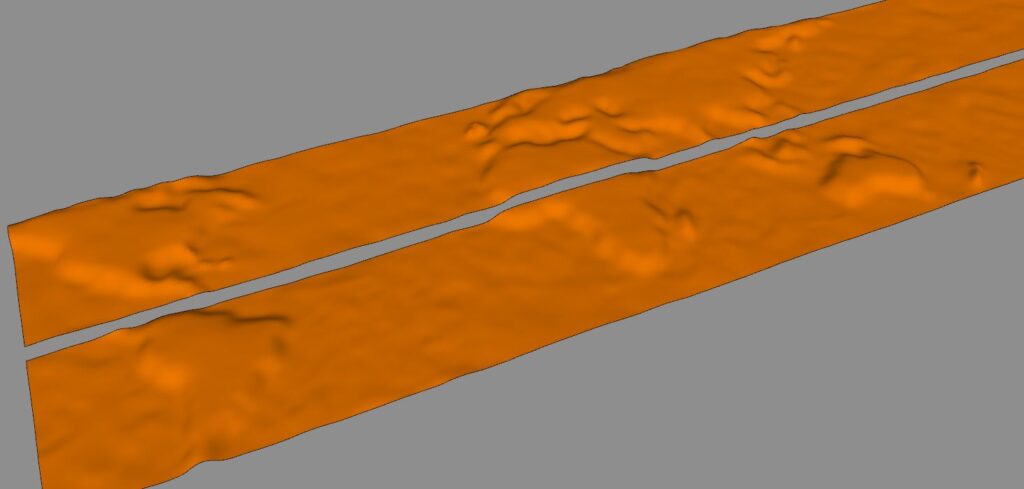
To begin with we construct a heightmap in photoshop, and then import that into Sketchup. We then measure everything to ensure it will come out the right size and convert the heightmap into geometry. The continents were pre-shifted in photoshop to make sure the doors will fit between them. This is our foundation from which we’ll build the wall panels:
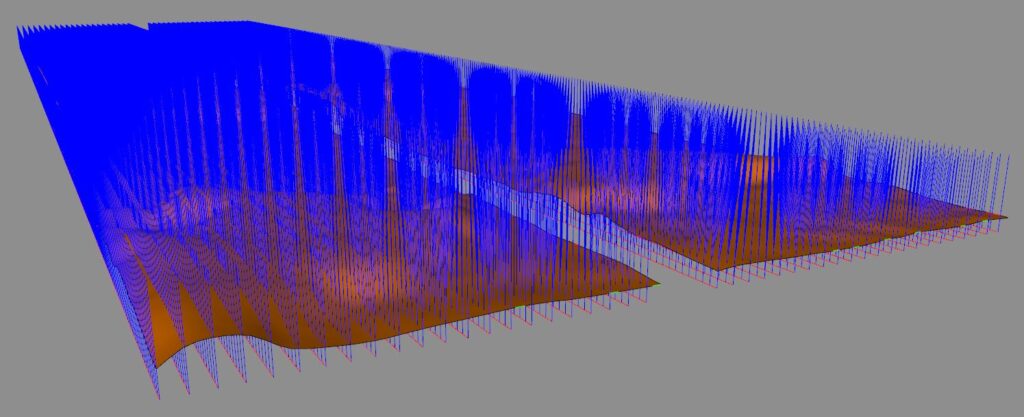
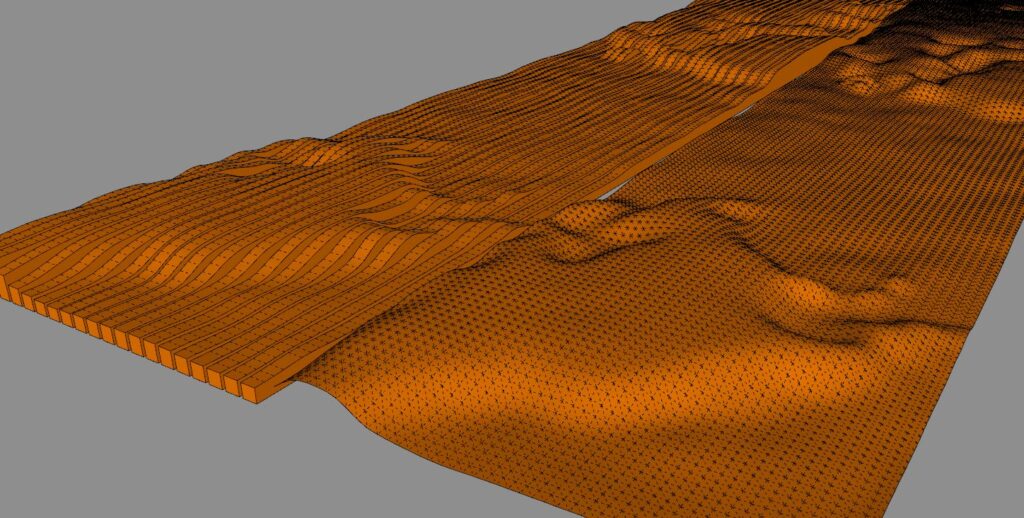
Our base geometry is far too heavy to be chopped up and used as-is, so next we have to plant a forest of some 15,000 points spaced 5cm apart to sample the height data at a more reasonable scale:
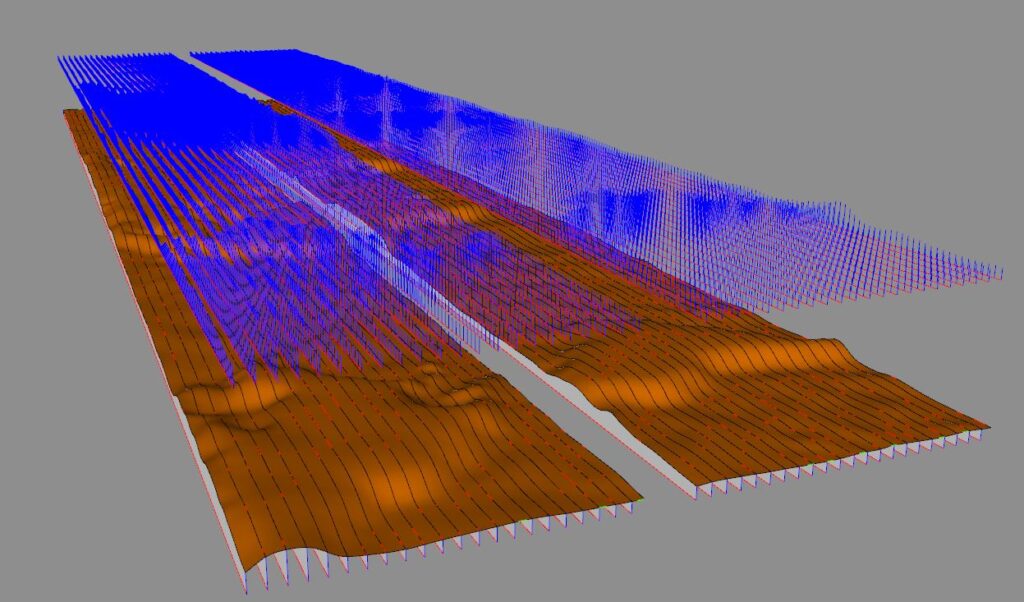
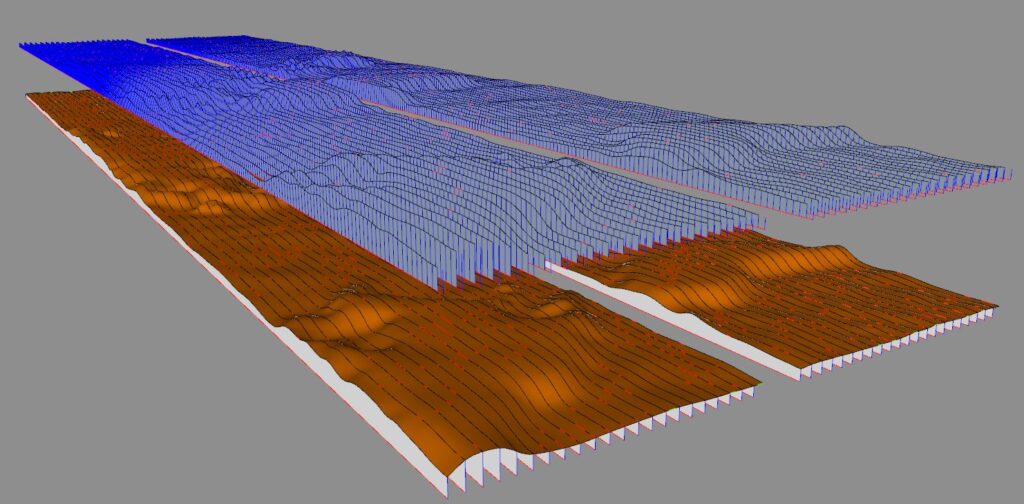
We then intersect all of that with the base geometry, which gives us nice clean wireframes from which to form the individual planks:
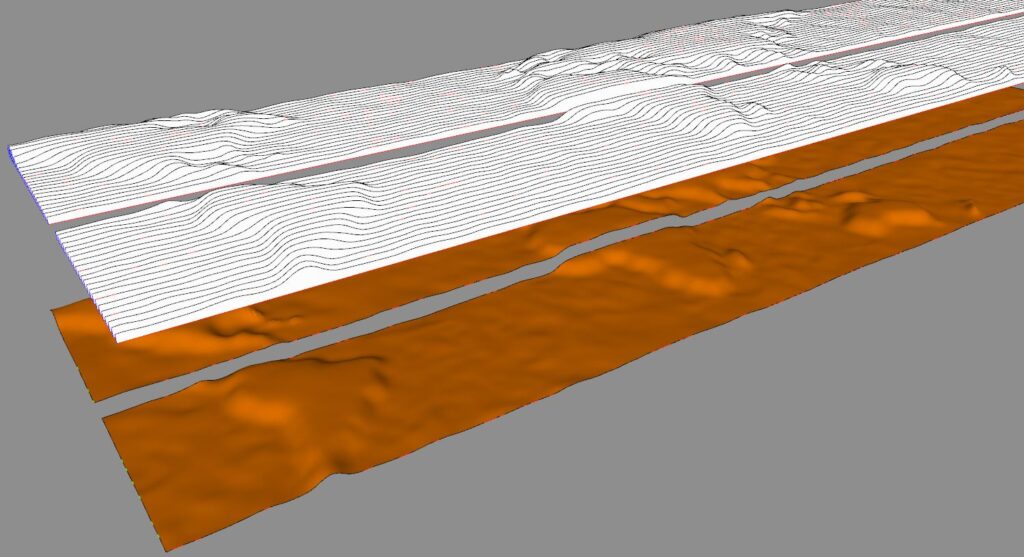
The wireframe is then given some faces:
Which are then extruded to form the actual plank geometry:
By going through this extra effort we reduce the overall poly count by nearly two thirds, and we also end up with much nicer geometry to work with:
The fun doesn’t end there though, because now we also need to cut out the doors, chop the planks into their panel-lengths, and clean up any stray geometry that crept into the mesh while all the cutting was going on:
And more work still to come, because the doorframes need to be made a bit more artsy, some shelves/alcoves need to be added here and there for ornaments, and I want to include a couple of benches into the design, as well as making the whole corridor wider.
A wall is never just a wall! ![]()

